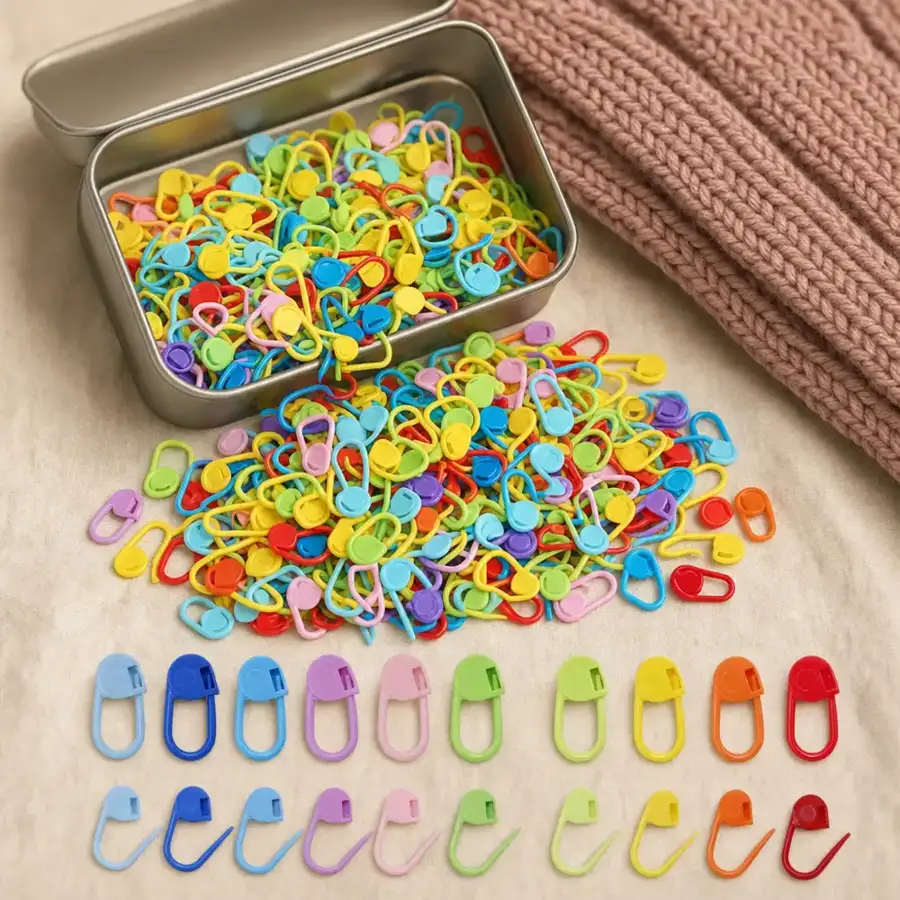
· June Merrick
How to Measure Gauge With Two Stitch Markers (Knitting and Crochet)
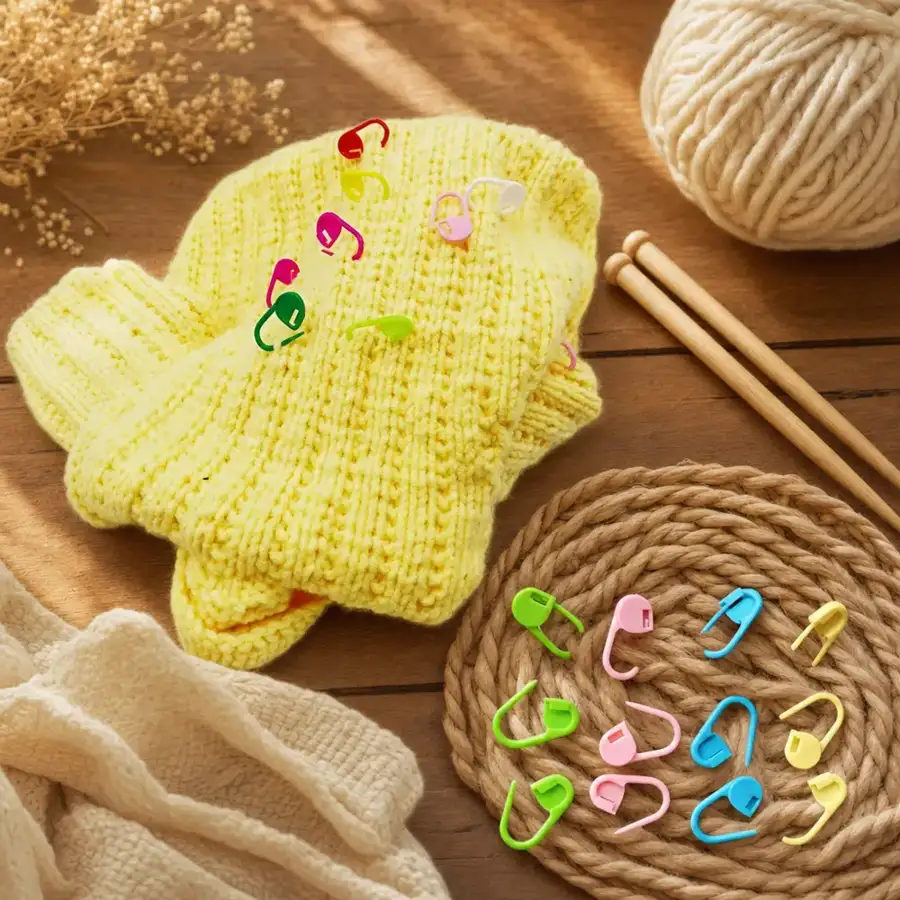
Every pattern opens with a line most of us skim: 20 stitches to 4 inches in stockinette. That line is the whole contract. Match it and the sweater comes off the needles at the size on the schematic. Miss it by half a stitch per inch and the arithmetic is brutal — a 200-stitch body meant to measure 40 inches at 5 stitches per inch comes out at about 36 inches at 5.5, or about 44 inches at 4.5. Nothing in the knitting looks wrong while it happens; the swatch was the only place to catch it.
The usual check is to lay a ruler across the swatch and count whatever falls inside 4 inches. That is where the trouble starts: the last stitch at the edge of the window is always a fraction, the ruler slides, and the hand holding the fabric flat is also, quietly, stretching it. The method below turns the measurement around. You fix the stitch count exactly — twenty stitches, counted, with a locking marker clipped at each end — and you measure the length, which a ruler reads to an eighth of an inch. The rest of this site covers the other marker jobs: the four everyday placements in how to use stitch markers, the needle-side moves in knitting with stitch markers, and which loop a crochet clip goes under in where to put stitch markers in crochet. Here the only job is the number.
Why the ruler window rounds you off
Counting stitches inside a fixed window has a built-in rounding error. Say the pattern asks for 20 stitches to 4 inches and your fabric actually runs 20.5: in the window that half stitch is a sliver at the edge, most of us count it as 20, and on a 200-stitch body that sliver is 5.125 stitches per inch instead of 5 — an inch of width the schematic promised and the sweater lacks.
Two markers move the uncertainty to the side that can take it. A count of twenty is an integer: it is either right or wrong, and you can check it by counting again. The distance between the markers is what carries the fraction, and a ruler resolves a fraction of an inch far better than an eye resolves a fraction of a stitch. Twenty is also the count that makes the arithmetic disappear: gauge is stated over 4 inches, and 4 times 20 is 80, so the stitches-per-4-inches figure is simply 80 divided by the inches between your clips. Working in centimeters, divide 200 by the centimeters between them and you have the count per 10 cm.
The swatch that gives the markers room
Gauge is a standardized number. The Craft Yarn Council's Standard Yarn Weight System states it over 4 inches — in stockinette stitch for knitting, in single crochet for crochet — and any pattern that measures gauge in its own stitch pattern says so on the same line. Swatch in whatever stitch the line names, with the needle or hook the pattern suggests as the starting point.
Make the swatch wider than the window. Twenty stitches in a worsted-weight yarn span somewhere between 4 and 5 inches at the chart's knit range of 16 to 20 stitches per 4 inches, and the markers need fabric on both sides of them: edge stitches pull tighter than the interior, and a marker sitting two stitches from a selvedge measures the edge, not the gauge. Cast on the pattern's 4-inch count plus a border of six or so stitches each side, and work enough rows that twenty rows can later sit in the middle with the same margin above and below. It is a bigger swatch than the one most of us make, and it is smaller than the sleeve it saves.
Clip the first marker before the swatch leaves the needle: one locking marker in the cast-on corner, on the right side, so that washed fabric can still tell you which face is the right side and which edge came first. If you are swatching three needle sizes in one strip, clip a different color at each row where the size changes, and the strip carries its own key.
Wash it first, measure it dry
A swatch measured straight off the needle describes a fabric that will not exist after its first wash. Fibers move in water — wool relaxes and blooms, cotton and superwash yarns can drop and grow — which is why the garment's gauge, the one the schematic was drawn for, is the washed gauge. Treat the swatch exactly as the finished piece will be treated: same soak, same rinse, laid flat to dry without being pulled into shape. Only lace, which is pinned out under tension by design, gets measured pinned, and a lace pattern says so.
The markers go through the soak with the swatch: they are molded plastic with nothing on them to rust and nothing that marks pale wool, so the corner clip and any needle-change clips come out of the water still saying what they said going in. Measure only once the swatch is fully dry; damp fabric has not finished settling.
Stitches: two markers, twenty stitches apart
Lay the dry swatch on a flat surface, right side up, and do not smooth it flat with your palm — smoothing is stretching. Choose a row well inside the fabric: several rows above the cast-on, several below the top edge, and clear of both selvedges. That row is your measuring row.
Open a locking marker and clip it under both legs of one stitch in that row — the whole V, never a single leg: a marker on one leg can rock over to the neighboring stitch, and a gauge marker that moves by one stitch moves your answer by a twentieth. Lock it. Count twenty stitches to the right of the marked stitch, not counting the marked one, clip the second marker under both legs of the twentieth, and count again from the other direction: the count is the one part of this method that has to be right before the ruler comes out.
Measure from the first clip to the second, taking the same edge of each clip, to the nearest eighth of an inch or the nearest millimeter. That distance is the width of exactly twenty stitches: divide 80 by it. If the clips sit 4⅜ inches apart, 80 divided by 4.375 gives 18.3 stitches to 4 inches, and a pattern asking for 18 is matched; at 3¾ inches the fabric runs 21.3, more than three stitches away.
Then move the pair to a second row a few rows away and repeat. Two readings within an eighth of an inch of each other are a gauge you can build a sweater on; two that disagree by more are a swatch whose tension changed while you knit it, usually in the first rows, and the fix is more rows, not a different needle.
Rows: the same pair, turned ninety degrees
Row gauge uses the same two markers and the same divisor. Clip the first marker into a stitch in the middle of the swatch, then count twenty rows straight up the same column — in stockinette every V stacked above the marked stitch is one row — and clip the second marker into the stitch twenty rows above. Measure clip to clip, divide 80 by the inches, and you have rows to 4 inches. Garter stitch counts in ridges: one ridge on the right side is two rows, so ten ridges between the clips is the same twenty rows.
Row gauge is the number knitters skip, and the number that decides sleeve length on any pattern that shapes by row count. "Increase every sixth row, eight times" is 48 rows, drawn on the schematic at the pattern's row gauge. If your rows are shorter, the sleeve reaches full width sooner and the shaping bunches near the cuff; if taller, the increases are still climbing when the sleeve should be finished. Knowing the row figure before the cast-on lets you redistribute those eight increases over the length the schematic wants. Counting the swatch's rows as you work them is the job of an on-needle row counter; the markers take over once the fabric is dry.
In crochet, the same arithmetic under both loops
Crochet swaps the needle for a hook and keeps everything else. The chart states crochet gauge in single crochet to 4 inches, and at the worsted range of 11 to 14 stitches per 4 inches, twenty single crochets span roughly 5¾ to 7¼ inches — wider than the swatch most crocheters make. Either chain long enough for twenty stitches plus a border, or mark ten stitches instead and divide 40 by the inches; ten is also the count to use for double crochet and any stitch taller than a single. The divisor is always the number of marked stitches times four.
The clip goes under both loops of the V on top of the stitch — the same rule the crochet guide spends a whole section on, because a marker under one loop has a hinge and can reseat itself one stitch over. Keep both markers away from the turning chains at either edge, which are taller and looser than the stitches between them. For rows, crochet's height works in your favor: ten rows apart in the same column is plenty, and 40 divided by the inches between the clips is your rows to 4 inches. Wash the crochet swatch too: hook tension changes from one day to the next, and only the washed swatch matches the finished piece.
Reading the number, and which way to move
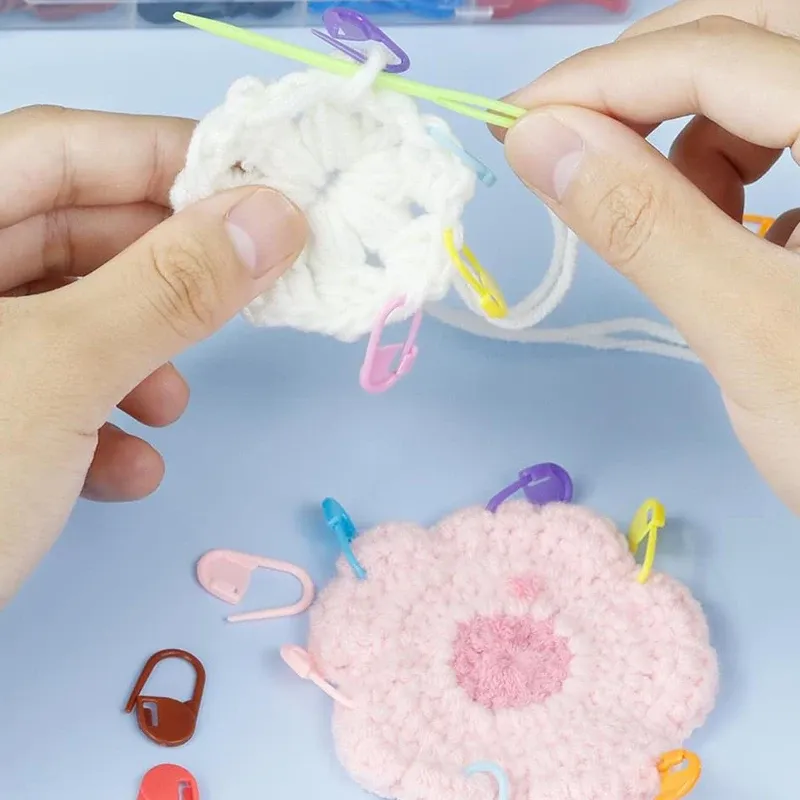
Here is the twenty-stitch conversion, so the division never has to happen at the table. Read the inches between your clips on the left and the stitches to 4 inches on the right, then compare with the pattern line.
| Inches between the clips (20 stitches) | Stitches to 4 inches |
|---|---|
| 3½ | 22.9 |
| 3¾ | 21.3 |
| 4 | 20 |
| 4¼ | 18.8 |
| 4½ | 17.8 |
| 4¾ | 16.8 |
| 5 | 16 |
| 5½ | 14.5 |
| 6 | 13.3 |
More stitches to 4 inches than the pattern wants means each stitch is smaller than the designer's and the fabric tighter: go up a needle or hook size and swatch again. Fewer stitches means looser: go down a size. One size is the first step at any weight; the second swatch tells you whether it was enough. When stitch gauge and row gauge refuse to match on the same needle, match the stitches — width is fixed by the cast-on, while length is knit to a measurement and shaping can be re-spaced as the sleeve example above describes.
Leave the markers in: the swatch becomes the record
Do not unclip the pair when you are done. A swatch with two markers still in it is a document: the distance between them is the gauge, readable again in six months when the second sleeve finally happens, and the corner clip's color is the needle size. At about 0.83 by 0.43 inches and well under a gram each, the clips sit in a swatch for as long as it exists without stretching the stitches they hold. Keep every swatch for a yarn you will use again, markers in, with the leftover yarn, and the next project in that yarn starts with its gauge already measured.
The count adds up faster than it sounds. Two clips per swatch, one in the corner, three swatches to settle a sweater's needle size and a fourth for the ribbing — a dozen markers spent on a single project before the first real stitch. That is the arithmetic behind a 50-pack of locking stitch markers rather than a card of ten: enough that the swatch gets its pair and the garment still gets one color per job. The knitting-specific placements are on our knitting stitch markers page, and the reasons crochet has to clip rather than slip are on the crochet stitch markers page. Clip two into your next swatch, count twenty, measure the gap, divide 80 by it — and read the number the ruler window was rounding away.